Feb 02 2026
Weather, especially winter weather, can take a real toll on your patio deck. The combination of ice, snow, rain and changing temperatures can take away some of its original lusters.
Learn more
Weather, especially winter weather, can take a real toll on your patio deck. The combination of ice, snow, rain and changing temperatures can take away some of its original lusters.
Learn more
Every year around the holidays, our kitchens take a beating. If you have ever hosted Thanksgiving, you know exactly
Learn more

Whether you’re refreshing your trim with a new coat of paint or removing old marks, taking paint off windows can sound intimidating. You
Learn more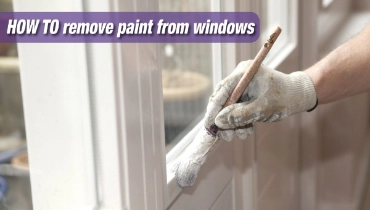
Magnetic window cleaners are a unique and innovative tool that have increased in popularity in recent years. However, you migh
Learn more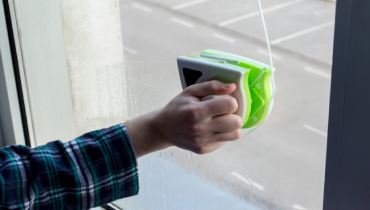
Whether you're a new homeowner looking to maintain the beauty of your patio or a seasoned DIY enthusiast seeking effective cleaning methods,
Learn more