Feb 02 2026
Weather, especially winter weather, can take a real toll on your patio deck. The combination of ice, snow, rain and changing temperatures can take away some of its original lusters.
Learn more
Weather, especially winter weather, can take a real toll on your patio deck. The combination of ice, snow, rain and changing temperatures can take away some of its original lusters.
Learn more
Whether you're a new homeowner looking to maintain the beauty of your patio or a seasoned DIY enthusiast seeking effective cleaning methods,
Learn more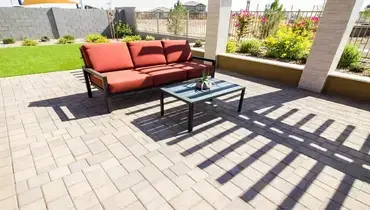
Pressure washing your roof may seem like an efficient way to clean it up in a short amount of time. Using powerful jets
Learn more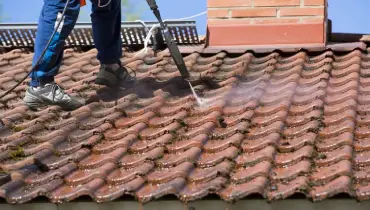
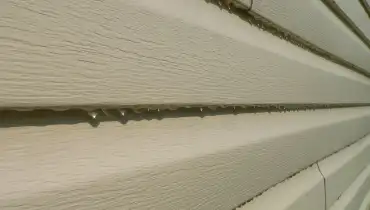
While most are quick to assume the black streaks on their roof, siding, deck or patio is dirt or even mold… oftentimes it’s th
Learn more
Pressure washing houses has become increasingly popular among homeowners looking to restore their properties to their former bea
Learn more